
Vintage Shabby Chic Jewelry Box
Hello friends,
I am Vidhi Jadeja from Artery Crate. Here is my Debut post for The Element Craft Studio!!! It's an honour to be a part of a great team. I just love all the products from TECS. They are wonderful, unique, pocket-friendly and with great finishing.
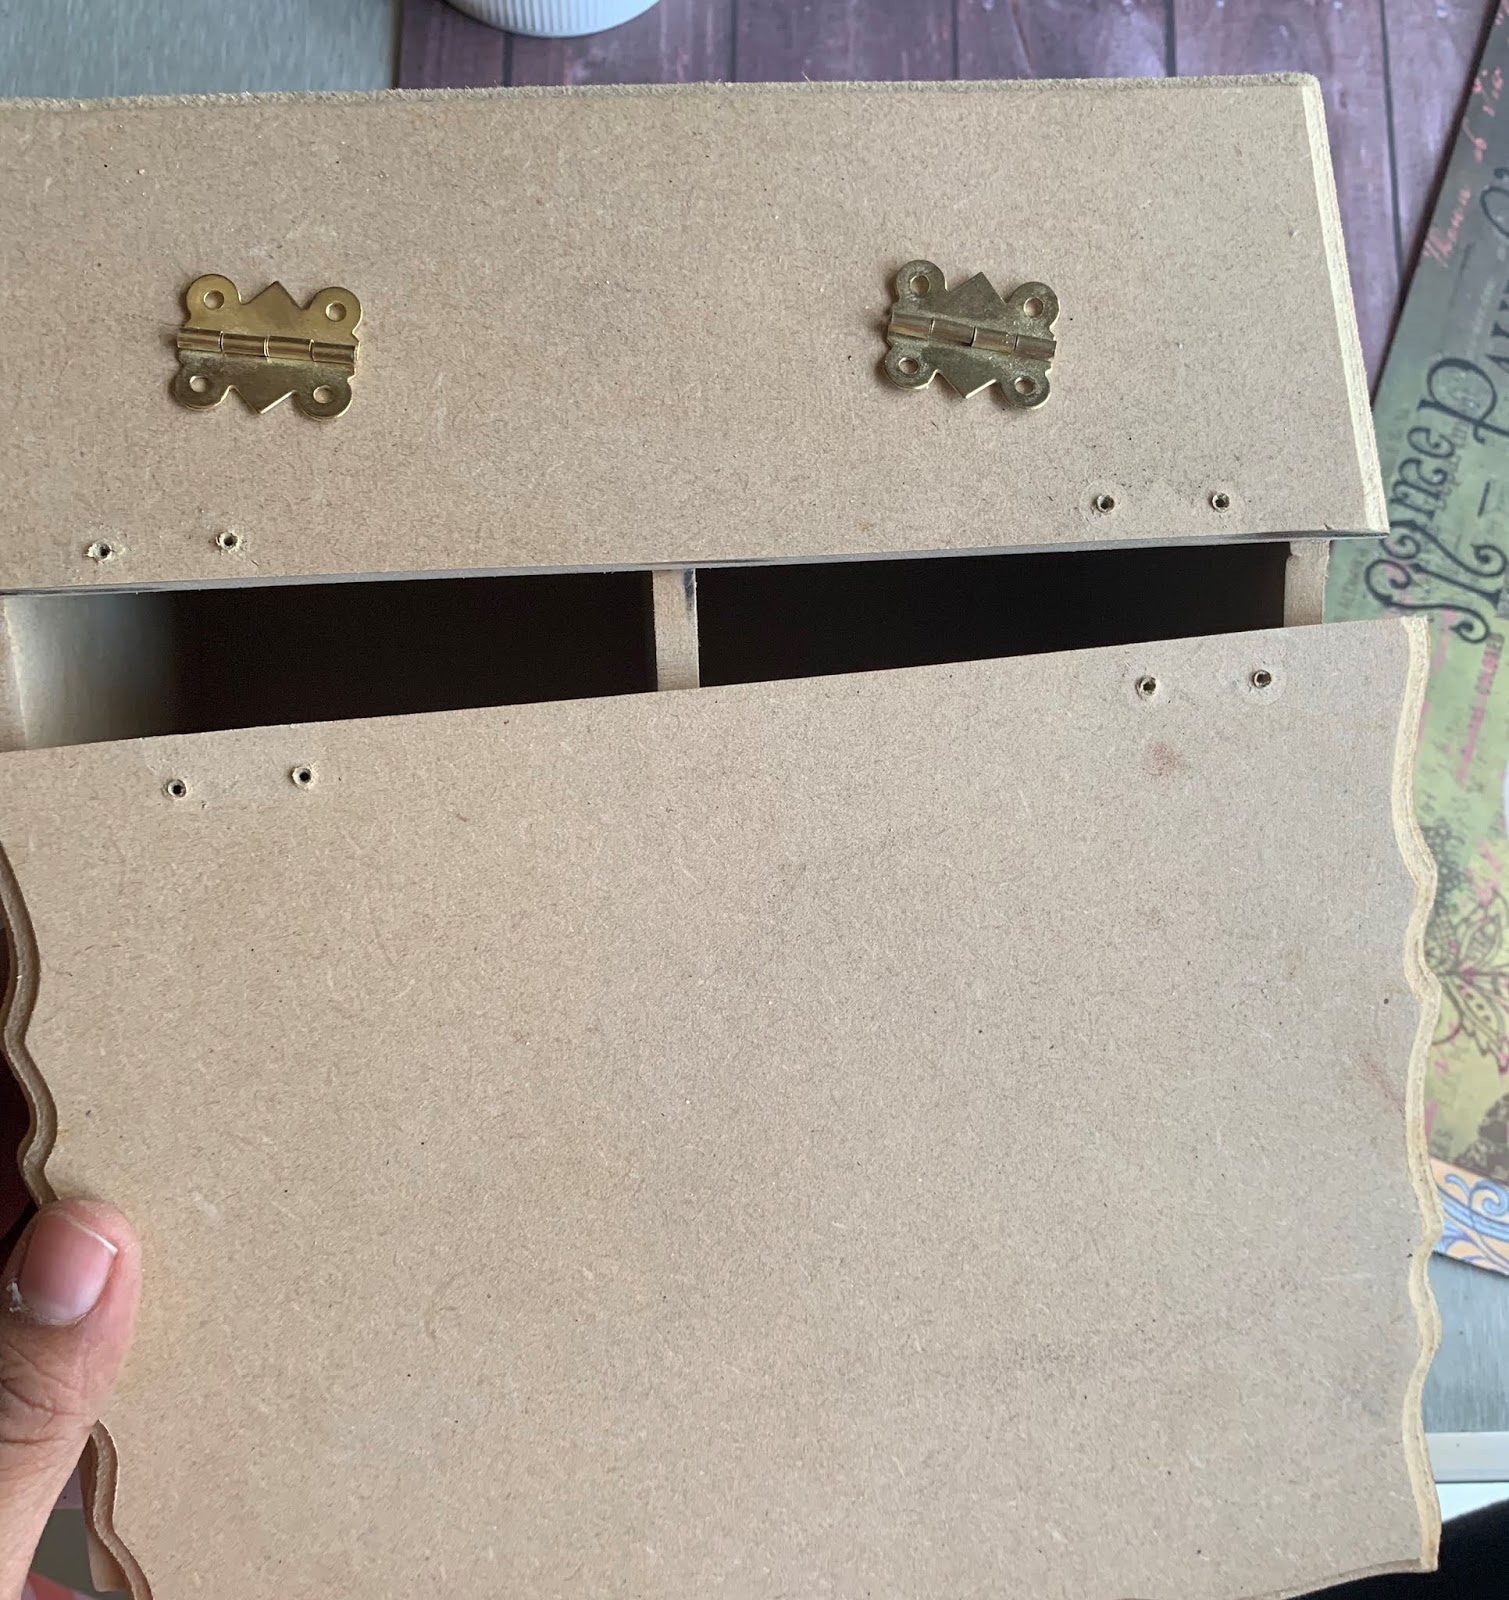
I received a beautiful Munshi Ji Style Jewelry Box as my DT kit. When I saw a design for the first time, I decided instantly that I will make it a Vintage shabby chic Jewelry Box !!!
Have a look at my finished project. Hope you guys love it and enjoy its procedure to design a gorgeous box.

Now I will start the procedure step by step :
Step 1: The box is finely sanded so there is no need to sand it. I removed its hinges so it will be easy to work on the box. I choose shabby chic papers from TECS 's decoupage paper collection. Its name is " Beaux ". For the box lid, I selected a lady's picture paper and for the front top and back side of the box, I selected another paper from the Beaux collection. Cut it accordingly to its size and distressed the edges of the papers with Brown Archival Ink.


Step 2: To the side of the boxes I did some stencilling with TECS stencils and modelling paste. Its quality is perfect for stencilling. Just love the result.


Step 3: I wanted to add some new technique to decoupage papers so I did faux tiling to add more embossed effect on the top side of the box. I took my decoupage paper and choose Hexagonal shapes to cut three different sizes of hexagonal with Dies. For more embossed effect I cut two other layers for each size of hexagonal from Black chipboard. And stick them together, now it will look like a small tile. Keep that three tiles aside right now, will stick them later.


Step 4: To colour the box, I used chalk paints from Tecs. They are wonderful, gave perfect coverage to MDF surface. I choose a dark shade around my papers and the sides of the box. I want to distressed the sides of the box so as a base coat I applied Dark shade and on that, I rubbed Wax and I applied a pastel shade on it. Distressed the edges and embossed part with sandpaper.


Step 5: After distressing, for more vintage look I applied Archival ink on edges and on the embossed part. Even did inside of the box on pastel shade.

Step 6: Now I glued down all my Decoupage papers with Mod Podge on their surfaces. On the top of the box, I applied two-step crackle medium on two corners for more texture on paper. First applied base coat and when it dries applied top coat to get fine crackles. To make that cracks more visible I rubbed dark brown oil colour and wiped the extra colour with the tissue. It adds more interest on the surface.


Step 7: As the last step, I fixed my hinges which I removed earlier and above that, at one corner I glued that Hexagonal tiles at their places. I added metal charms for more interest and highlight them with Waxes. Even for more depth, I added some beads near the charms.


Voila!!! My Vintage shabby chic box is ready to shine. Hope you guys love it.


List of the supplies from TECS :
- Munshi ji style jewellery box
- Beaux decoupage paper collection
- Stencils
- Chalk Paints { Faded teal and Rustic Russet }
Thank you,
Vidhi Jadeja
Vidhi Jadeja


No comments: